Enrollment/semester registration
Enrollment is necessary once after admission to the university in order to establish student legal status. In this case accepted students must fill in and submit enrollment request via the Neptun educational system, in which they check, modify and complete their data and make the necessary statements in order to start their studies. The student status is established through the acceptance of this request. Registration is the process that must be repeated in the beginning of every semester, in which a statement has to be made on the activation or passivation of the semester.
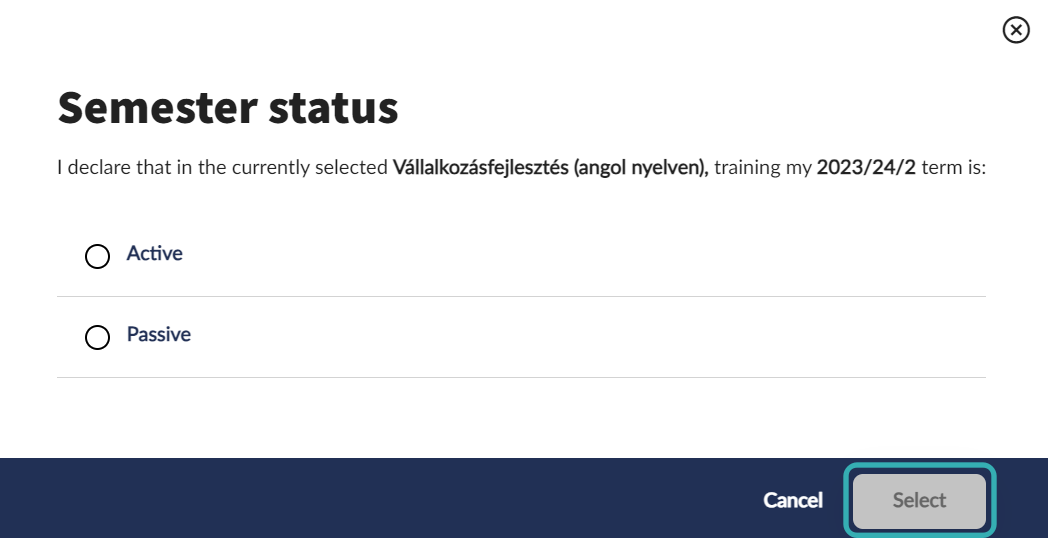
The enrollment form and the declaration window on the status (active/passive) of the current semester can be accessed from the Administration / Term Registration menu. In this menu both the current and previous semester registration periods will be displayed, but the Register button will only be active under the current semester.
You can only enroll and register during the enrollment and registration period specified in your faculty’s academic calendar! If the Register button does not appear, this may be due to other administrative reasons, in which case you should contact the Registrar’s Office/Study Department of your faculty.
Subject and course registration
The Register for subjects menu is available from the drop-down menu on the left, or from the Subject main menu. Subject registration is a two-stage admission procedure: you must register to a subject and a course at the same time. Thus, in the list of subjects displayed, you can access additional courses under a subject, from which you must choose one or more to successfully register.

Multiple filters help you to select the right subjects during subject registration. First of all, the Term filter narrows down the subjects that can be taken for the current semester. You can also filter the results by subject type, subject code/name, curriculum, subject group, language, recommended term, course lecturer, course code, class date interval. If the Keep additional filters open checkbox is not ticked, it is worth checking in later semesters whether a filter criterion (e.g. an interval) is stuck in the search, which would prevent the new search from returning all results.

The Subject type filter divides the range of subjects into three groups:
- Subjects from curriculum: this is linked to the Curriculum filter, which can be used to narrow down the list to compulsory or optional subjects required in the training. During the course of your training, you may have to take subjects from more than one curriculum.
- Other elective subjects: In this case, you can take electives from the optional subjects connected to your curriculum, rather than from the main curriculum. A certain percentage of the required number of credits can be taken without any curricular constraints. The filter narrows down the list to the electives offered by the faculty – if the faculty of the training does not provide for electives, there will be no match.
- All other subjects in the institution: independent of the curriculum, please use this type of search to find all your courses.
It is particularly useful to use the Subject group filter, since the curricula consists of subject groups based on their scope or compulsory nature.
Based on the criteria set in the filter, the program displays the subjects that can be registered by clicking on the Search subject button. The results can be sorted alphabetically, recommended semester, registration type and credits. The list will also show subjects that have been previously completed if the View completed subjects checkbox in the filter panel is ticked.

The search results will show the title, registration type, credit value, code and subject group of the advertised subjects. In the subject row, different icons indicate if the subject has already been taken, has been added to the planner, is on the waiting list or is in the process of being registered.

You can view more results by clicking the Load more button at the bottom of the page. The Top of page button navigates back to the top of the list.

You can see more details about each subject by clicking Subject details. The Download syllabus button downloads the current semester’s syllabus for the subject in PDF format. In the subject details, you can see all subject data, offered courses, previous results of the subjects (if you have them).

You can open the subject’s row by clicking on it. In the open position, you can see all offered courses for the subject. The courses’ code, class schedule, course type, lecturer, current headcount and headcount limit is displayed. You can view more information about each course by clicking the Details button next to it.

At the end of each row, the Add to planner toggle can be used to add a chosen course to your class schedule planner. Adding a course to the plannor does not mean succesfull registration to the course, but it can assist in planning your entire timetable. A push notification will notify of the success or failure of adding the course to the planner.

To register for a subject, you need to click the Take subject button after selecting a course for the subject. Only one registartion can be started at the same time, but you can immediately start a new registration afterwards. You will receive a push-notification for every registration started. The notification details the reason if the registration was unsuccessful.

Class schedule planner
Although subject and course registration is only possible during the specified period, you can plan ahead. In this case, the class schedule planner function of the study system collects the courses you want to add, and then you can add courses from the planner with a few clicks once the registration period starts.
You can open the Class schedule planner from the bottom left corner of the Register for subject menu. The planner can be displayed in weekly, monthly and list view. In the weekly and monthly view, only courses that have timetable information are displayed.

You can switch between dates in the top right corner, the Today button displays the current week/month. The … menu next to the Today button allows you to clear all courses from the planner with a single click, or to set the weekends to be displayed in the planner – this is particularly important for courses with a blocked schedule.

Course exchange
It may be the case that several courses of the same type are offered under the same subject, from which one must be chosen. The choice can be changed later without the student having to withdraw from the course. To do this, click on the Course exchange button in the Register for subject menu under the subject’s title. You can then tick the checkbox next to the courses of the subject to select the course you want to change to, and then click on the Course exchange button to drop the previously added course, at the same time register for the the selected course.

Dropping subject
Taken subjects can be dropped in the specified period. Same as registration, dropping happens for the subject and the course(s) at the same time.
Dropping subjects can be done easily in the Register for subject menu, by clicking the Drop subject button under the taken subject. Subjects can also be dropped from the Taken subjects menu.

Exam registration
From the drop-down menu or from the Exams main menu, you can access the Overview, Take exam, Taken exams, Remaining exams, Results and Final exams menus.
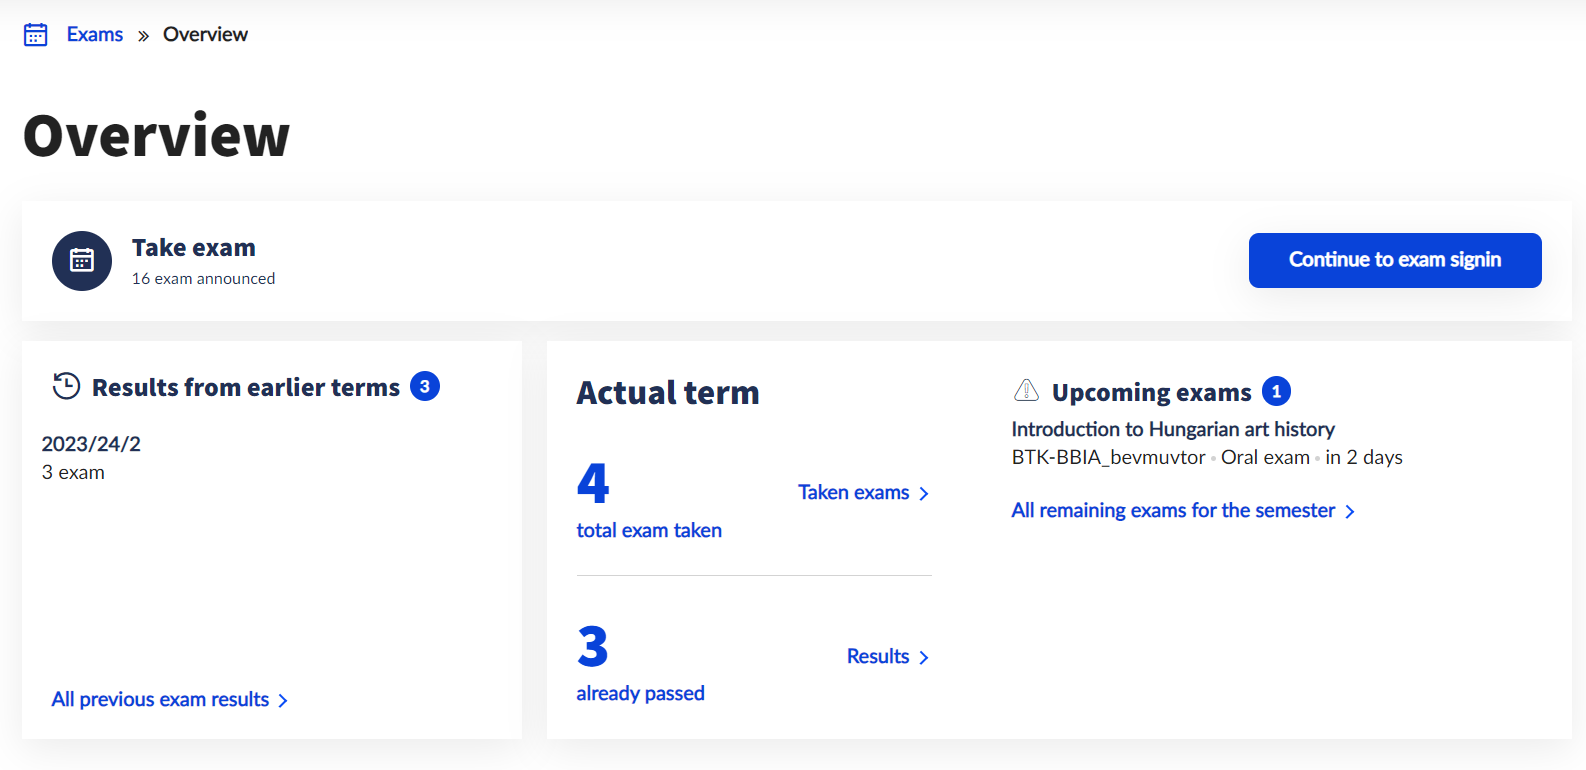
The Overview menu consists of three parts.
The Take exam card shows the number of announced exams currently available for the semester from the courses you have taken. The Continue to exam signin button navigates directly to the Take exam menu.
The Results from earlier terms card shows the recorded exam grades by semester. Clicking on a semester or on the All previous exam results button will navigate to the Results menu.
The Actual term card shows the number of taken exams remaining in the semester, the number of exams already passed, and next to them the details of the three closest exams remaining. The Taken exams button navigates to the Taken exams menu, the Results button navigates to the Results menu, and the All remaining exams for the semester button navigates to the Remaining exams menu.
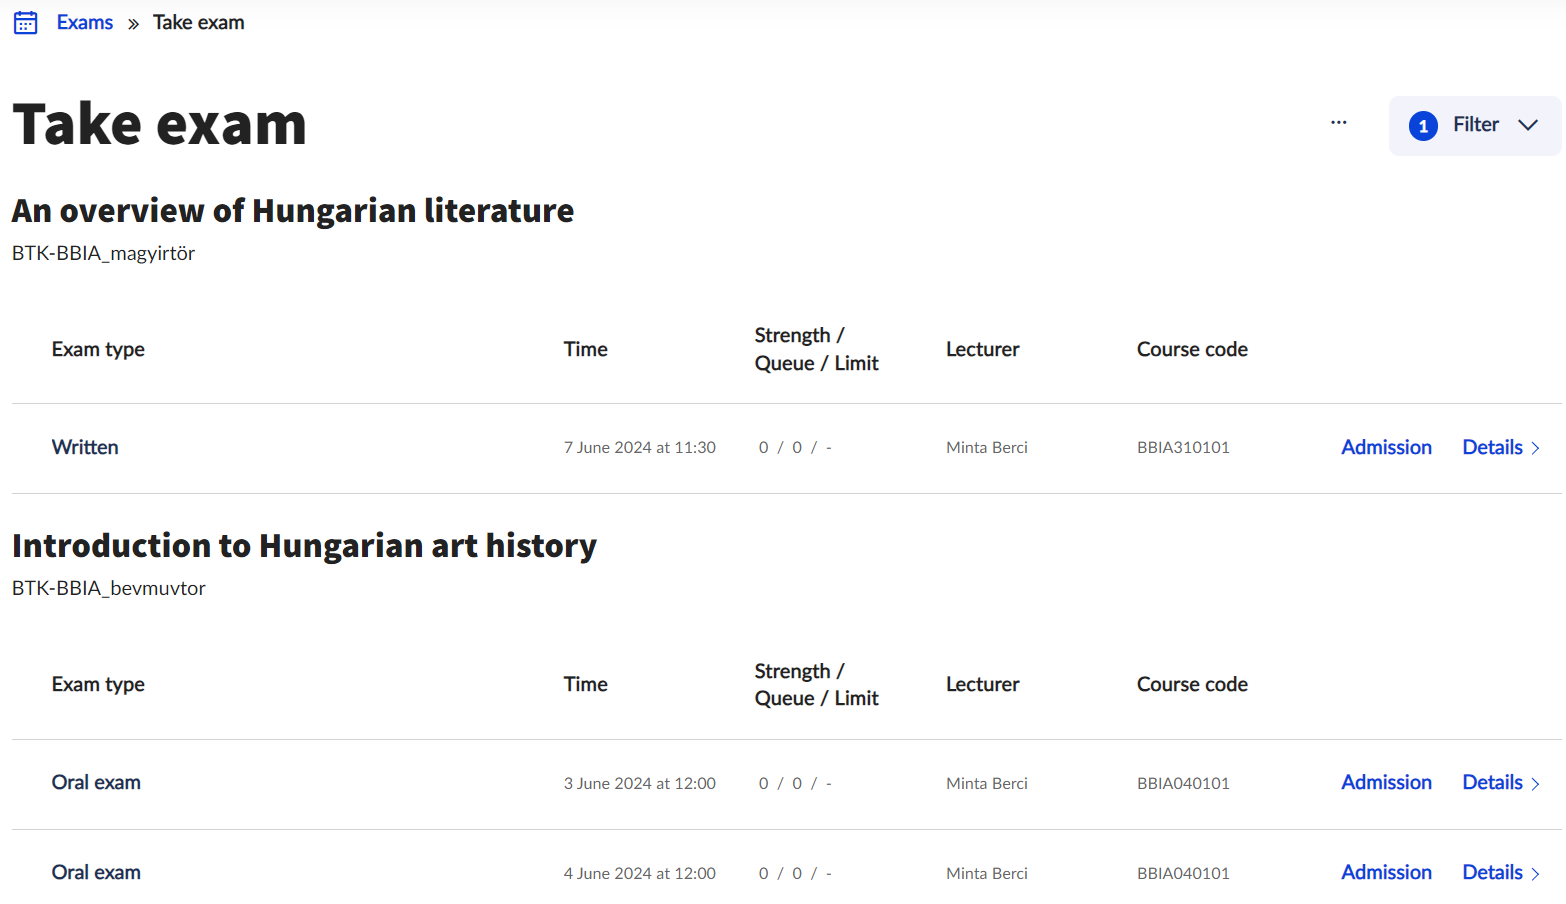
When you enter the Take exam interface, all the exams announced for the current semester after the current date are displayed, grouped by subject.
The Filter drop-down menu in the top right corner allows you to filter exam dates by term, subject, exam type, exam registration and lecturer. If you suspect that not all exams are displayed, it is worth checking whether there are any filters set from a previous search. Click on the Filter list button to apply the specified filter criteria. Click on the Delete filter button to clear all filter criteria at once and display the complete list.
Click on the … button next to the Filter button to access the Edit columns function, which allows you to rearrange the order of the displayed columns. Displayed columns can be:
the exam type,
the time of the exam,
the headcount of the exam (number of students who have taken the exam/number of students on the waiting list/limit of registered students),
the lecturers (examiners),
the course code,
the exam registration

You can take the exam immediately by clicking on the Take button next to the given exam date. It is only possible to register for (and drop) an exam during the exam registration period, according to the faculty’s academic calendar and registration conditions.
In all cases, a push notification will be sent to confirm the success of the registration. If any of the conditions of the application are not met, the reason will also be indicated in the push notification. The new student interface uses a different logic than the old student web, so it is important to note that the application is only completed when the push notification is received!
The Details button navigates to the details of the exam. Next to the basic data of the exam, you can see the list of registered students and examiners, the rooms assigned to the exam, previous exams and any requests submitted for the exam (if any).
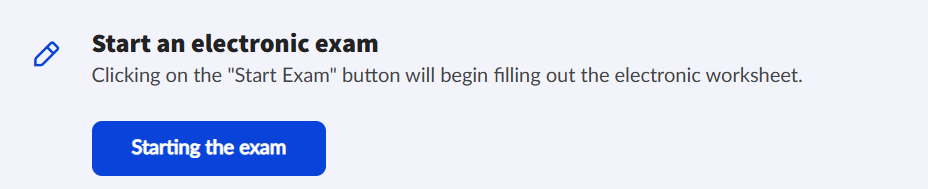
Exam dates that the user has already been registered for are highlighted in green and the Drop button will be available instead of the Take button. The Exchange and Drop buttons are available on the Details screen of an exam that has already been taken. The Exchange function allows you to take a different exam date for the same course at the same time as you drop an exam you have already taken. In case of electronic exams, from the start of the exam, the Starting the exam button will also be available:
In the Taken exams menu, you can view all the past and remaining exams taken per subject. The interface automatically filters the exams for the current semester, this setting can be changed by clicking on the Filter drop-down button.
The Remaining exams menu also displays the exams taken after the current date by subject. The displayed exam data can be filtered by subject, exam type, exam date and instructor (examiner) using the Filter drop-down button.
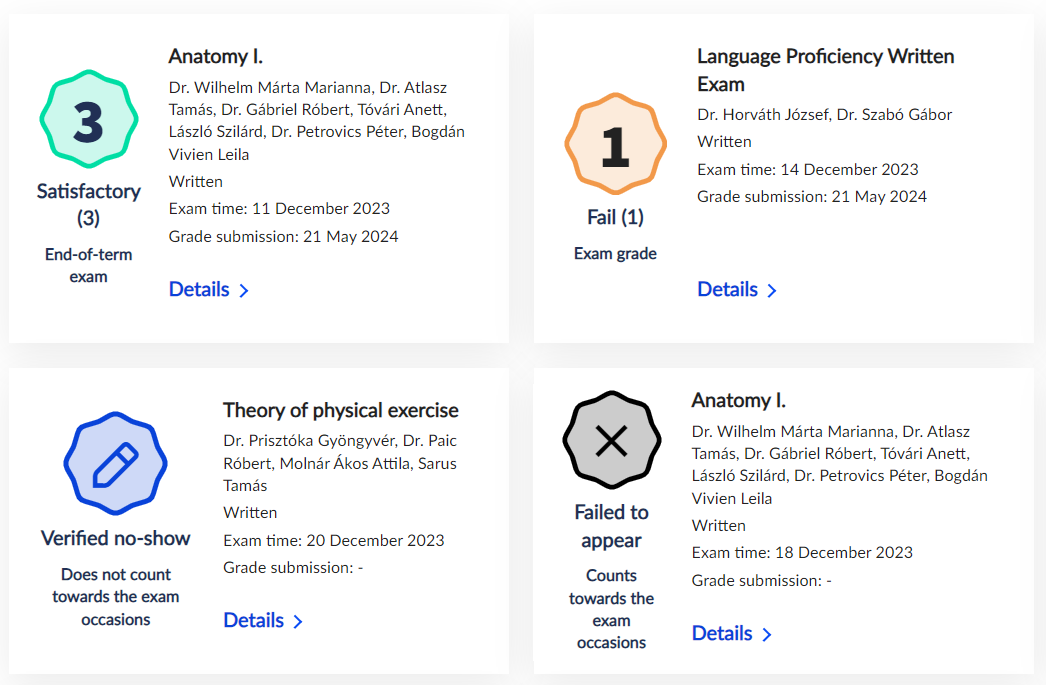
The Results menu displays your exam results by semester. The system marks grades that are better than failing (1) with green, failing grades (1) with red, verified no-shows with blue and uncertified absences with black. Results can be filtered by semester and subject.
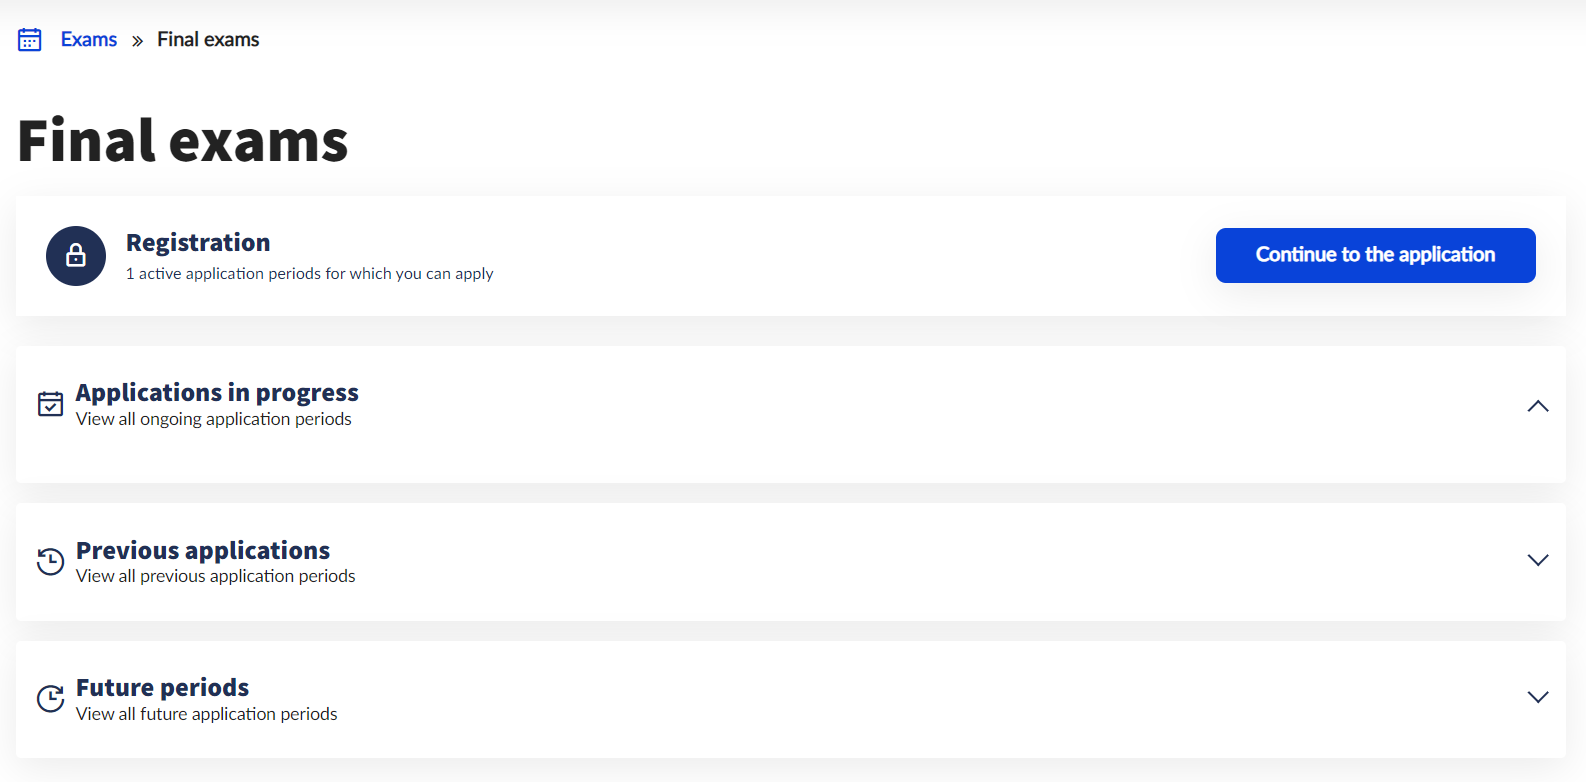
In the Final exams menu, students can register for a final examination during the final examination registration period specified in the faculty’s academic. The interface allows you to view applications in progress, previous applications and future periods already announced. You can start the application for the final exam by clicking on the Continue to the application button. Depending on faculty specifications, if it is necessary to choose a topic when applying, a list of optional topics will be displayed. If you need to fill in a form for the application, the interface will navigate to the form immediately. If you do not need to select topics or fill forms, your application will be submitted automatically just by clicking the Continue to the application button. A push notification will be displayed back to indicate that the application was successful. The Interval data interface displays the details of the scheduled exam.
Management of personal data and contact information
Personal data recorded in the educational system can be accessed in the Personal information menu through the drop-down menu under the user’s name. This data is divided into five main areas, which can be found under five different tabs on the interface.
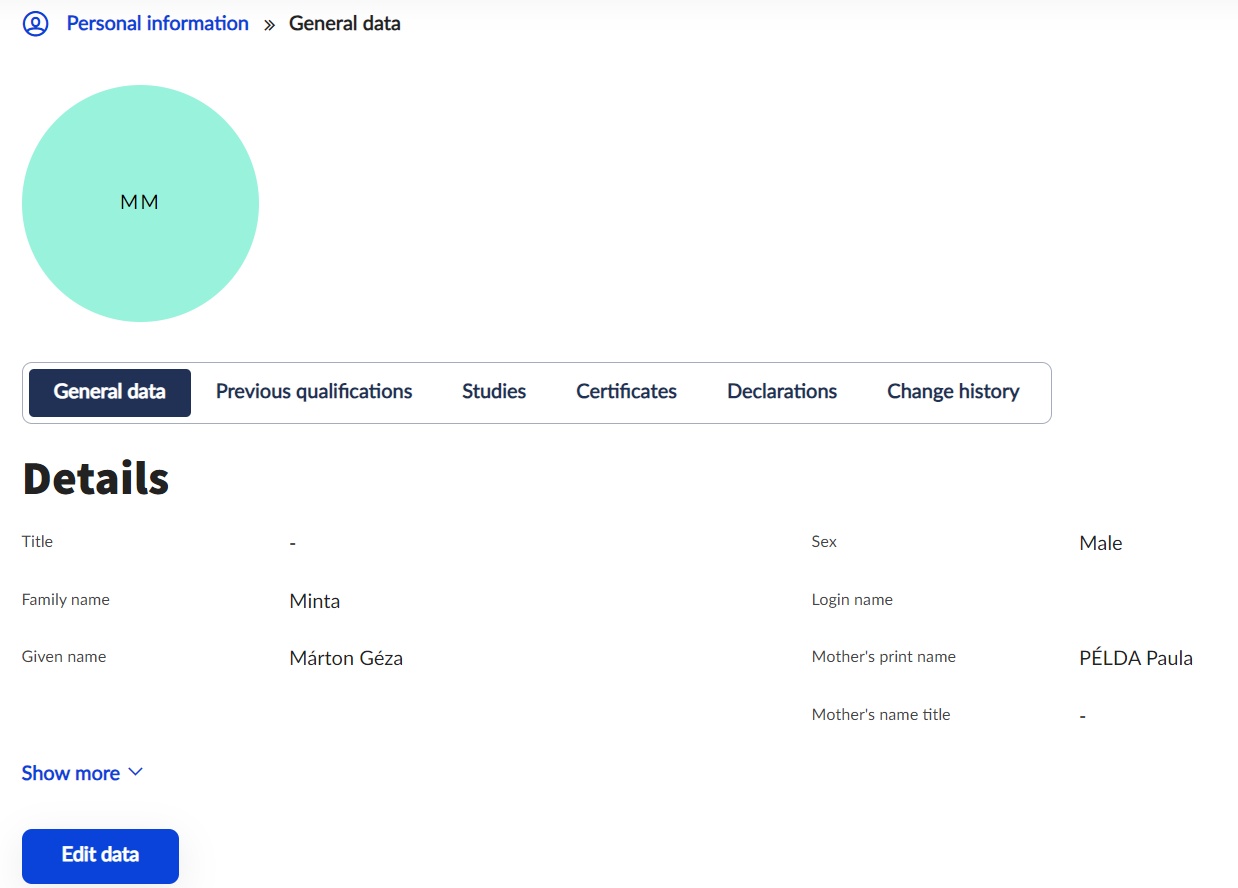
At the top of the General Data tab, you can view basic personal details (e.g. name, date of birth, nationality, education ID, etc.). It is not possible to modify or change any of this information in the interface. Changes can be made by presenting a document certifying the change at the Faculty’s Registrar’s Office/Study Department.
Under the basic details, you can view and modify the contact information, official documents and bank accounts recorded.
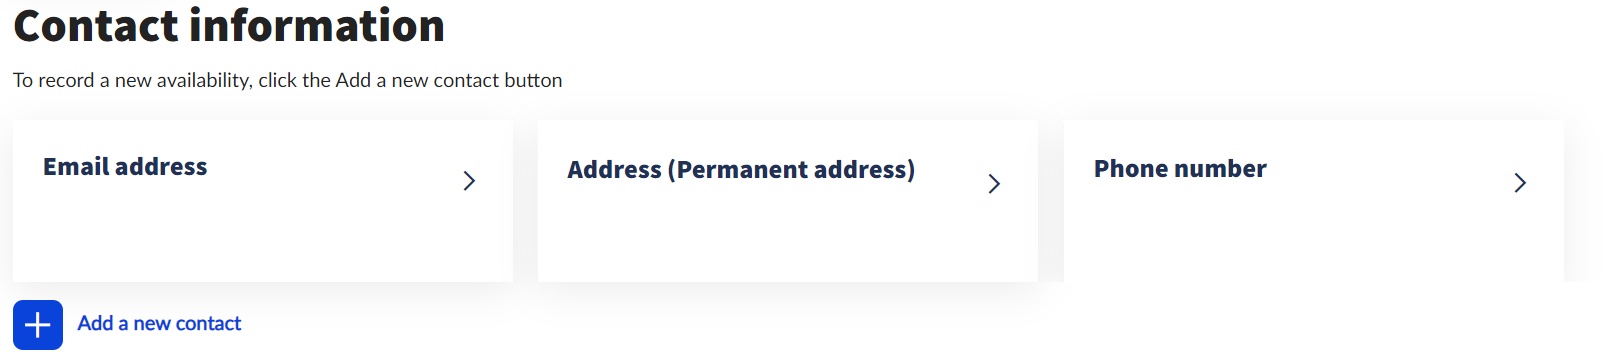
Addresses, e-mail addresses and phone numbers can be managed under Contact information.
Address details can be recorded as permanent, temporary, mailing and billing addresses. Mailing and billing addresses can be changed at any time, but permanent and temporary addresses can only be changed with the permission of the Faculty Registrar’s Office/Study Department staff, upon presentation of a valid address card.
Any number of e-mail addresses can be added to the E-mail address list, as official or personal type. In any case, there must be a default email address so that the system can forward messages and notifications received. The Default checkbox can only be ticked for one email address at a time.
Phone numbers can either be mobile or office type. To use the central password management system, it is essential that the user has a default phone number recorded and kept up to date. If your phone number changes, please ensure that you also change it in the system.
The Official documents section displays the official documents that have been uploaded in the Neptun system (e.g. while filling in the enrollment form). Registering documents is optional, but it is recommended that at least one document proving the identity of the user is uploaded. In the case of international students, if the residence title justifies it, the Residence Permit must be uploaded. The interface allows you to modify existing documents and to delete their details. Among the documents, the Student ID card is visible, with details of the verification stickers received.
More information on student card application
Payments initiated by the University (such as scholarships and refunds) are transferred to the default bank account number set in the Bank accounts section, so it is important to keep the account number up to date. Entering bank account information is only possible for students who do not have any bank accounts registered yet. For editing already registered bank accounts or adding new bank accounts, please reach out to the faculty Registrar’s Offices, or the Central Registrar’s Office ([email protected]).
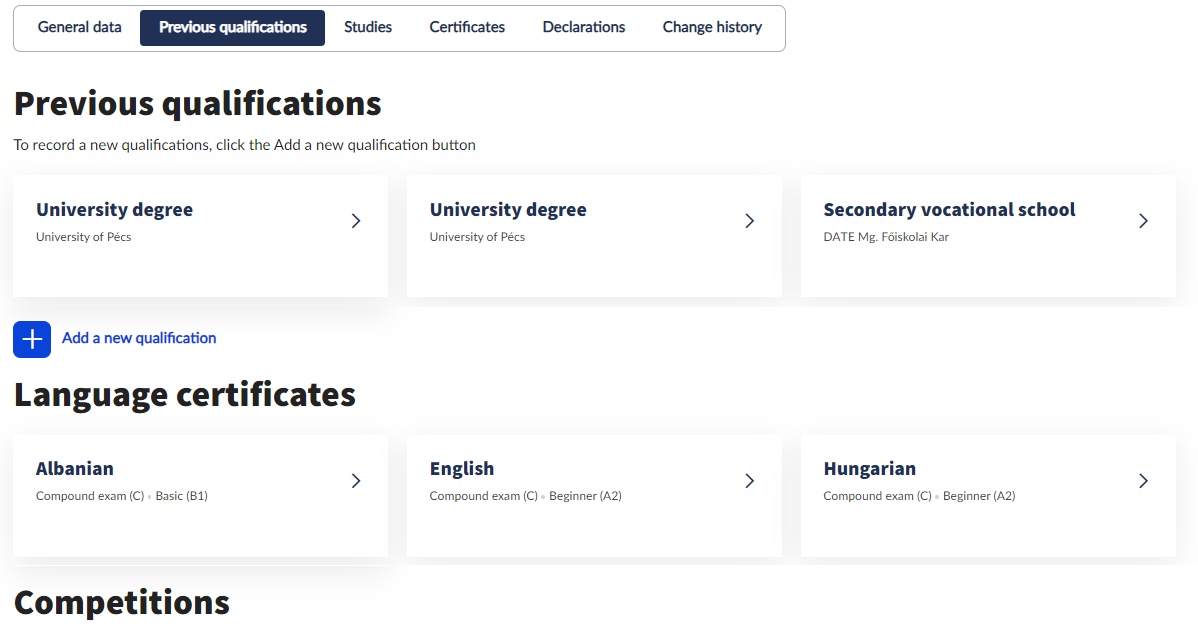
Previous certificates (e.g. high school diplomas), language exams and competition results are displayed under the Previous qualifications tab. A qualification can be recorded by clicking on the Add a new qualification button, however a language exam can only be recorded by presenting the certificate to the Faculty Registrar’s Office/Study Department.
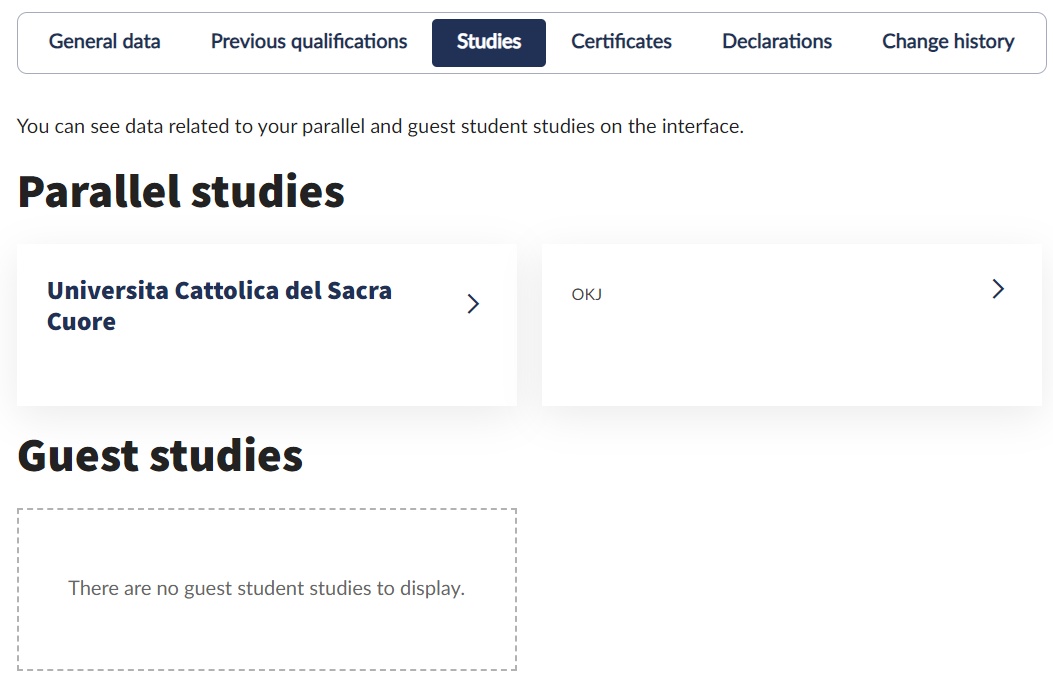
Parallel and guest student statuses can be viewed under the Studies tab. The Faculty Registrar’s Office/Study Department is responsible for the recording of parallel and guest student studies.
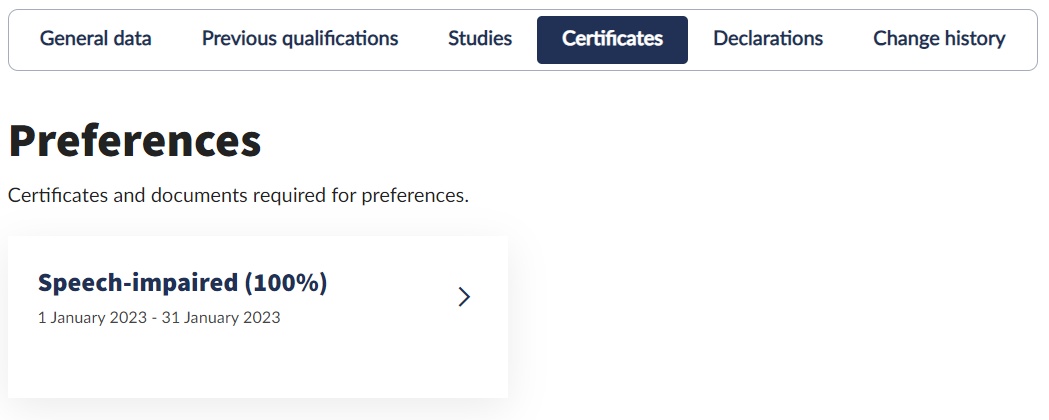
Under the Certificates tab, you will see the area defined by the University under which the eligible person may benefit from certain procedures. Preference may be given to students on the basis of their social situation or to people with disabilities. No preference category can be entered in the interface. This is authorised by the Faculty Registrar’s Office/Study Department with the approval of the Support Services. Here too, users may make data changes within the limits set by the University.
The Declarations tab shows all declarations accepted by the user.
Changes to personal data can be checked in the Change History interface.
Student Card application
To apply for a Student Card in Neptun, you must select the Student Card request menu in the Administration main menu. It is possible to start a new request on the interface, the status of the request can be viewed, and information about previously submitted requests can also be found here.

Based on the data stored in Neptun, the program fills all the fields where pieces of information are available in the system. The student can replace or correct the missing data, so during the subsequent data reconciliation, it is worth checking the data accurately and, if necessary, correcting it on the data sheet or in Neptun system if you have the right authorization.